×
Exterior
Anchors & TieDowns
Doors & Windows
Coatings & Sealants
Appliance
Tools & Hardware
Interior Trim
Vents & Registers
Plumbing
Electrical
Transport & Safety
Heating & Cooling
RV Catalog...
RV Catalog...
×
Storm Doors
Combination Doors
Outswing Doors
Other Doors
Door Hardware
Windows
Shutters
Window Components
Skylights
×
Water Heater
Faucets
Faucet Components
Sinks
Tub & Shower
Toilets
Fittings & Valves
Tools & Tubing
Freeze Protection
×
Furnace Illustrations
Furnace Components
Furnace Filters & Doors
Heating & Cooling
A/C
Freeze Protection
×
Outdoor & Accessories
Awnings & Covers
LP Gas & Appliance
Electrical & Electronics
Ventilation
Hardware & Doors
Automotive
Cargo & Tow Cleaners & Sealants Fresh Water Sanitation Jacks & Levelers Suspension & Brakes
Mobile Home Catalog...
Cargo & Tow Cleaners & Sealants Fresh Water Sanitation Jacks & Levelers Suspension & Brakes
Mobile Home Catalog...
←
×
- Refrigerators
- Refrigerator Components
- Water Heaters
- Water Heater Components
- Range/Cooktops
- Range Hoods
- Range Hood Components
- Furnaces
- Furnace Components
- Insect Screens
- Washers & Dryers
- Washer & Dryer Components
- Air Conditioners
- Air Conditioner Components
- Appliance Illustrations:
- Water Heater Diagrams
- Furnace Diagrams
- Refrigerator Diagrams
- EXTERIOR
PARTSSkirting
Exterior
Steps
Lawn & Garden
- ANCHOR &
TIE DOWN - DOORS &
WINDOWS - COATING &
SEALANTCoatings & Sealants
- APPLIANCE
PARTSAppliance Assessories
- TOOLS &
HARDWARE - INTERIOR
TRIM - VENTS &
REGISTERSRegisters/Vents & Grilles
Roof & Plumbing
Kitchen & Bath
- PLUMBING
PARTSWater Heater
Tub & ShowerSinks
Toilets
Tools & TubingFaucets
Faucet ComponentsFittings & Valves
- ABS (Drain Pipe)
- PVC (Drain Pipe)
- Qest
- Push-Fit
- Flair-It
- PexLock
- PEX Barb (Brass)
- PEX Barb (Plastic)
- Rubber Couplings
- Valves
Freeze Protection - ELECTRICAL
PARTSSwitches & Outlets
Power Supply
Freeze Protection
- TRANSPORT
& SAFETY - HEATING
& COOLINGFurnace Illustrations
Furnace Filters & DoorsFurnace Parts
Heating & Cooling
- RV/CAMPER
PARTS →
- ← MOBILE
HOME PARTS - OUTDOOR &
ACCESSORIES - AWNINGS
& COVERS - LP GAS &
APPLIANCELP Gas
Appliance
Appliance Parts
Illustrations - ELECTRICAL &
ELECTRONICSElectrical
Electronics
Lighting
- VENTS &
REGISTERS - HARDWARE
& DOORSHardware
Door & Window
Tools
Steps & Ladders
- AUTOMOTIVE
CARGO & TOWAutomotive
Carriers & Haulers
- CLEANERS
& SEALANTS - FRESH WTR
PLUMBINGFresh Water
Faucets
Faucet ComponentsFittings & Valves
- PEX Barb (Brass)
- PEX Barb (Plastic)
- Qest Fittings
- Push-Fit Fittings
- Flair-it Fittings
- Pexlock Fittings
- Rubber Couplings
Freeze Protection - SANITATION
PLUMBING - JACKS &
LEVELERSJacks, Couplers Levelers
- SUSPENSION
& BRAKESAxle & Suspension


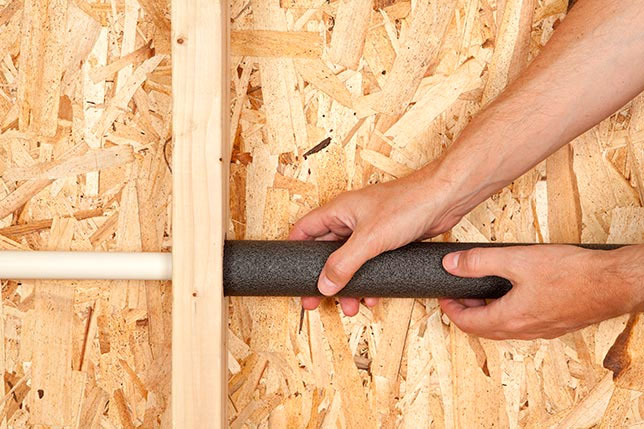
 Don't run the risk of letting your water pipes freeze. It's relatively easy to install heat tape and it's a good way to prevent major damage to your manufactured home. If your freshwater pipes are already wrapped in heat tape, check that the heat tape was properly installed, and periodically check the heat tape to make sure it isn't worn or frayed.